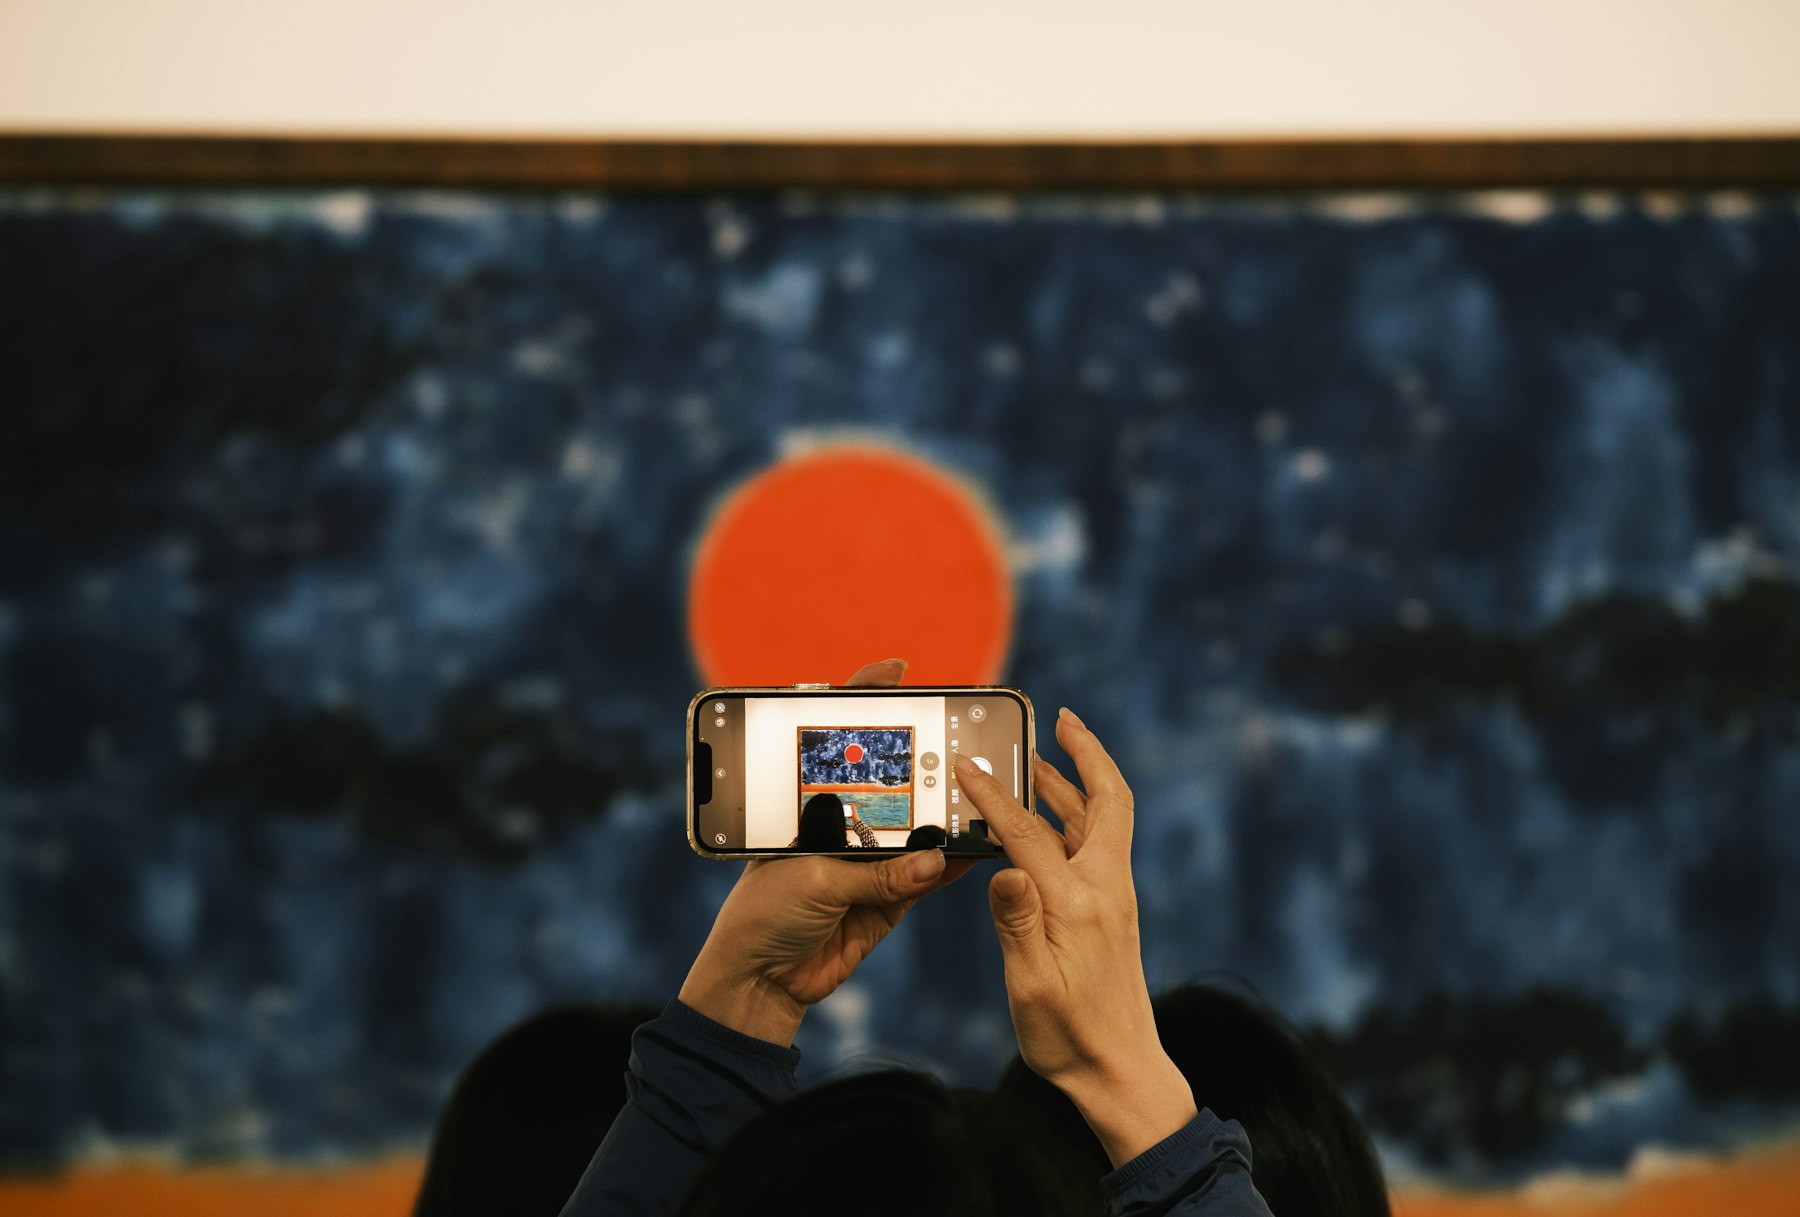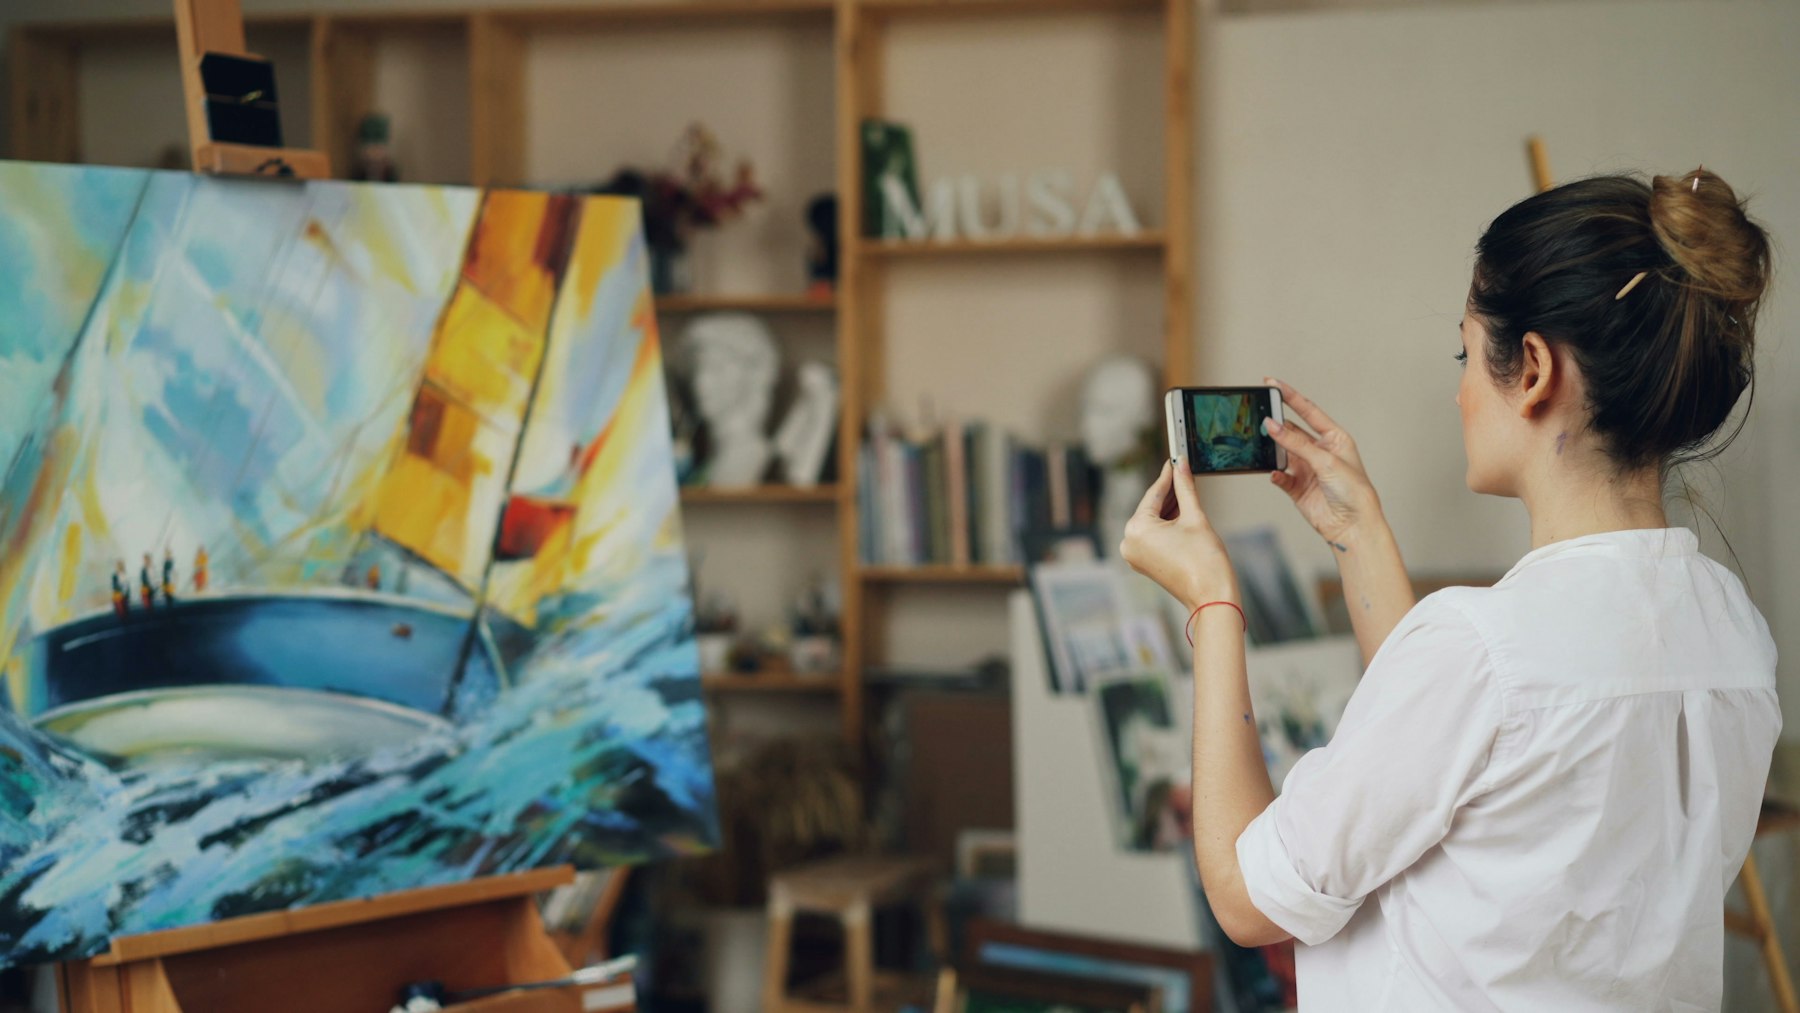
The phone in your pocket is good enough to photograph paintings, drawings and prints for your portfolio. What makes the difference isn’t the camera. It’s the light, the angle and five minutes of careful editing. Here’s the whole method.
The short version
- Shoot by a big window on an overcast day, with the lights in the room off.
- Hang or prop the work upright, and stand back a couple of steps.
- Hold the phone parallel to the work, centred, and zoom in slightly (2×).
- Tap to focus, lower the exposure a touch, and take several shots.
- Straighten, crop, fix white balance, then compare the colours with the real thing.
Light: the one thing that matters most
Bad light is behind almost every bad artwork photo. What you want is light that’s soft (no hard shadows), even (the same brightness from corner to corner) and all one colour.
- Best: a big window on a cloudy day, or a north-facing window (south-facing if you live in the southern hemisphere) at any time. Clouds act like a giant softbox.
- Also good: outside in open shade, like the shady side of a building on a bright day.
- Avoid: direct sunlight (harsh shadows and glare), ceiling lights (yellow and uneven) and your phone’s flash (a hot spot right in the middle).
Most important of all: turn off the lights in the room. Daylight is blue-ish and bulbs are orange-ish. Mix them and one side of your painting turns warm while the other turns cold, and no editing app can fully fix that.
Set up the work
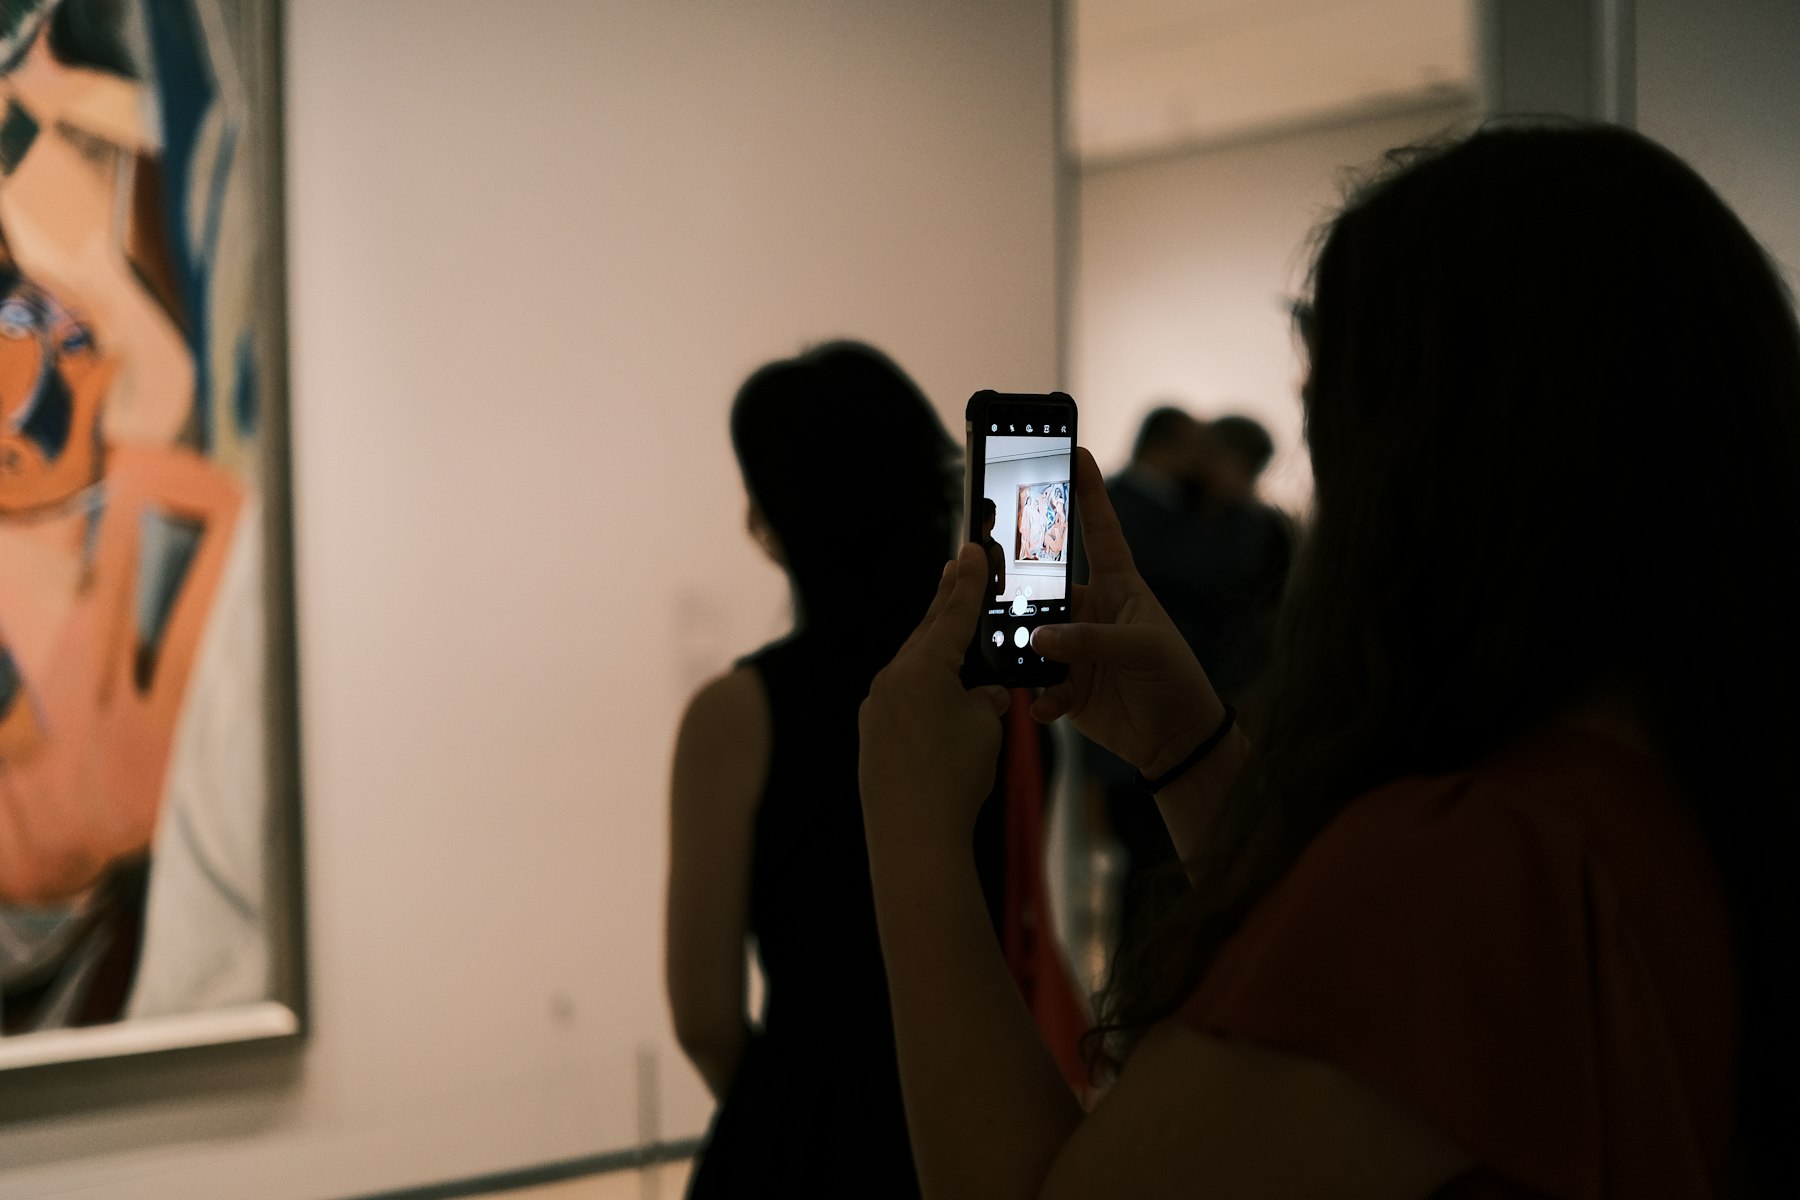
Hang the work on a wall, or stand it on an easel or chair, near the window but not in a patch of direct sun. The window should be off to one side, so light rakes across the work at roughly 45°. Straight-on light from behind you causes glare, and light from behind the work puts it in shadow.
If the side away from the window looks darker, hold a large sheet of white card or foam board on that side, angled towards the work. It bounces light back and evens things out. A white bedsheet over a chair works too.
Two more small things. Take works on paper out of their frames if you can, because glass reflects everything. And give the work a plain background: a white or grey wall is ideal, since you’ll crop it away anyway.
Get the angle right
This is where most photos go wrong. If the phone is tilted even slightly, a rectangle turns into a trapezoid. It’s called keystoning, and it makes the work look amateurish, even after cropping.
- Centre the phone on the middle of the work, not the top. For a painting on a wall, that often means crouching.
- Keep it parallel. Turn on the grid in your camera settings and line the edges of the work up with the grid lines. On iPhone, the “Level” option shows a crosshair that turns yellow when you’re straight above or facing something flat.
- Step back and zoom in to 2× or 3×. Wide-angle lenses bend straight lines near the edges. Standing further away and zooming in slightly with the phone’s telephoto lens keeps them straight.
- Use a tripod or a stack of books if you have one. Your hands won’t be perfectly still, especially in soft light.
Phone settings worth changing
Phones are built to make holiday snaps look exciting. For artwork you want the opposite: accurate and a little boring. A few tweaks help:
- Turn off the flash. Always.
- Tap to focus on the middle of the work, then slide the exposure down a little until the whites have detail again. A slightly dark photo is easy to fix. Blown-out whites are gone for good.
- Turn off filters and “vivid” modes, and switch off Portrait mode, which blurs parts of the image.
- Shoot in RAW if your phone offers it (Apple ProRAW, or “Pro” mode on most Android phones). It gives you more room to fix colour later. Optional, but nice.
- Take several shots. They’re free. Pick the sharpest one later, at full size.
A tip for colour: tape a small piece of plain white paper to the wall next to the work for one test shot. When editing, you can tap it with the white balance picker to get neutral colours in one click, then apply the same settings to the real photo.
Edit in five minutes
The built-in Photos app is enough. Snapseed and Lightroom Mobile are free and do a bit more. Work through these in order:
- Straighten and fix the perspective. Use the “perspective” or “keystone” sliders until all four edges are straight. Snapseed’s Perspective tool and Lightroom’s Geometry panel do this well.
- Crop right to the edge of the work, or leave a thin, even border of wall. Just be consistent across your whole portfolio.
- Fix white balance so white paper looks white, not blue or yellow.
- Adjust brightness and contrast gently. Make small changes. You’re trying to match the work, not improve it.
- Compare with the real thing. Hold your phone next to the work, in the same light, and tweak until they match. This is the step people skip, and it makes the biggest difference.
Resist the saturation slider. Colours that are brighter than the original look great on a screen, then disappoint a buyer or a curator who sees the real piece.
Tricky work: glossy paint, glass, big pieces
Glossy oils, varnish and resin
Shiny surfaces reflect the window as white streaks. Move the work further from the window, or angle it slightly away from the light until the glare disappears on your screen. Take a few steps back and zoom in more. If the glare won’t go away, shoot on a very overcast day, when the light is at its softest.
Framed work behind glass
Unframe it if at all possible. If you can’t, turn off every light in the room, wear dark clothes (you’ll show up in the reflection otherwise) and shoot at a very slight angle, then correct the perspective in editing.
Very large pieces
Move them outside into open shade, where there’s room to step back far enough. Zoom in to 2× or 3× so the whole piece is still straight and sharp at the edges.
Small drawings and prints
A scanner beats a camera for anything flat and smaller than A4. Scan at 600 dpi and you’re done. For anything larger, lay it flat on the floor near a window and shoot from directly above, standing on a chair if you need to. Hold the phone level, and use the level crosshair.
Sculpture and ceramics
Different rules apply. You want a few shadows to show the form. Use a plain paper backdrop that curves from the wall down to the table, light from one side and a white card on the other, and take several views. Show the front, a three-quarter view and a detail of the surface.
Export for your website
Export JPGs about 2,500 to 3,000 pixels on the long side, in the sRGB colour profile. That’s sharp on a big screen without being slow to load. If you’re unsure, your phone’s default export is usually fine. Just don’t send “small” or “medium” versions.
Name your files properly before you upload them, like low-tide-oil-on-linen-2025.jpg rather than IMG_4829.jpg. It’s a small thing that helps you stay organised and helps search engines understand what they’re looking at.
Then keep your originals, the untouched full-size photos, safely backed up somewhere. You’ll want them again for prints, press and applications.
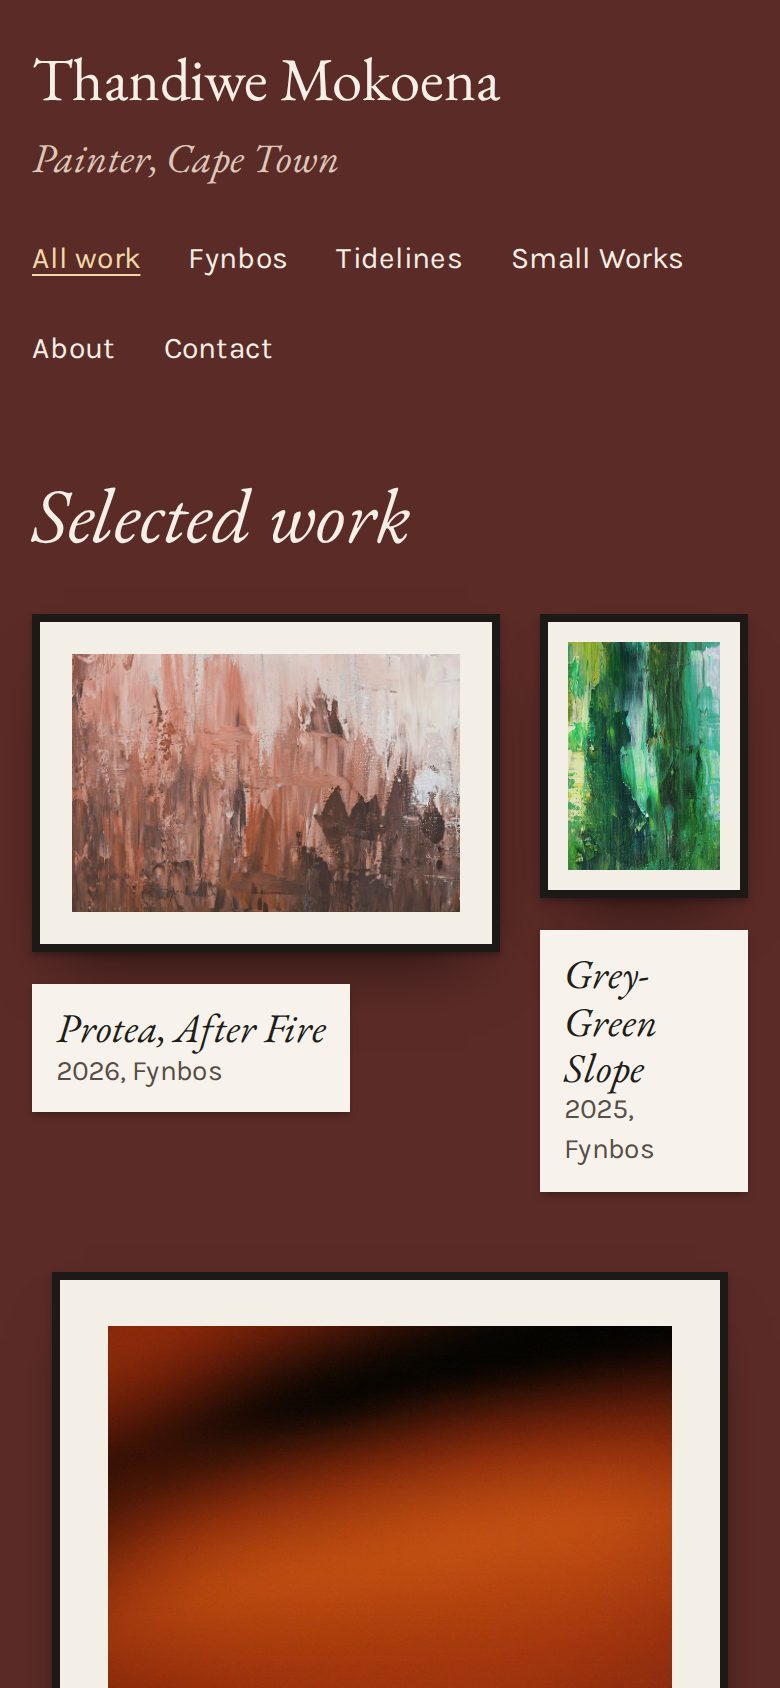
That’s it. Once you’ve done it a couple of times, photographing a new piece takes ten minutes. Now put those photos somewhere worth looking at. Here’s how to make a portfolio website.